Notepad++ is a lightweight Windows editor that works well for APDL scripts. The language file supplied by Marc & Structures adds basic highlighting for comments, blocks and selected commands in .mac, .inp and .out files.
Step 1 — Download the x64 installer
Go to the official downloads page, open the latest stable release and choose Installer under Download 64-bit x64. Do not choose ARM64 unless your computer actually uses that architecture.
Open the official Notepad++ downloads page ↗
Step 2 — Run the downloaded file
Open the browser download list or your Downloads folder and run the file whose name begins with npp and ends in Installer.x64.exe.
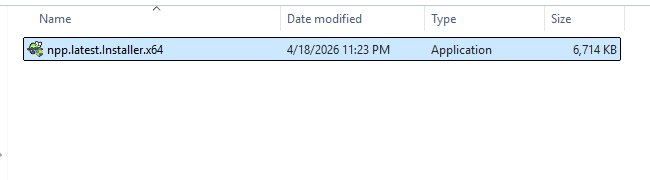
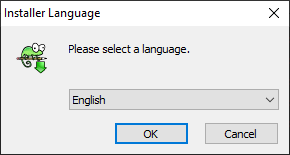
Step 3 — Choose the installer language
Select English and continue with OK. The choice affects the installer; you can change the editor interface language later.
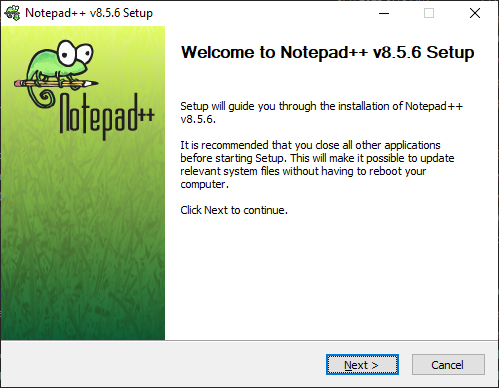
Step 4 — Start the setup wizard
The welcome screen confirms that you are installing Notepad++. Close other copies of the editor and continue.
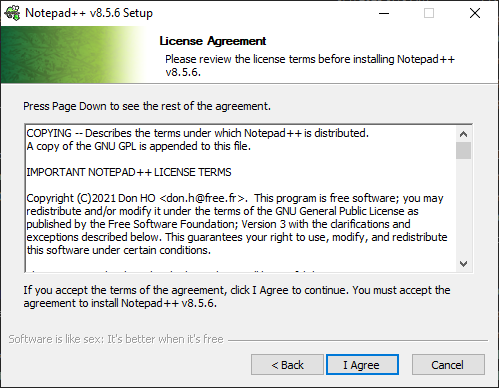
Step 5 — Accept the licence
Read the licence and press I Agree to continue.
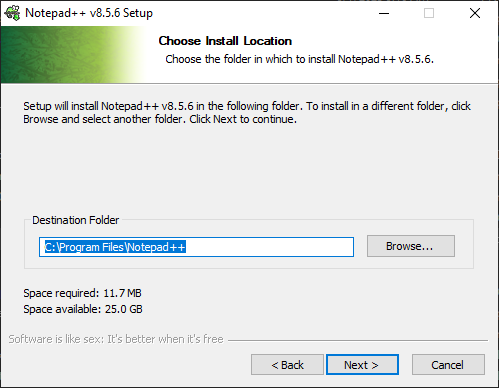
Step 6 — Keep the default destination folder
For a standard installation, keep the proposed Program Files folder. Change it only if your organisation has a specific policy.
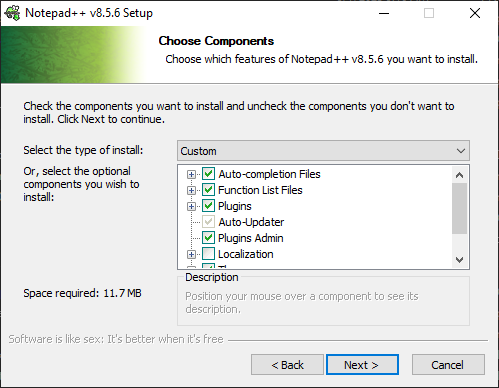
Step 7 — Install the default components
Keep the default component selection. The language definition used in this guide does not require any plugin.
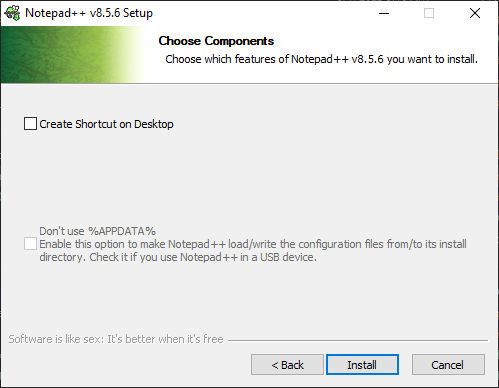
Step 8 — Finish the installation and open Notepad++
A desktop shortcut is optional. Start the installation, leave Run Notepad++ enabled on the final screen and finish the wizard.
Step 9 — Download the ANSYS APDL language file
Use the download button at the top of this note. Keep the XML file in Downloads until the import is complete; do not open or edit it.
Download ansys-apdl-notepad++.udl.xml
Step 10 — Open the User Defined Language window
In Notepad++, open Language → User Defined Language → Define your language.
Step 11 — Import the XML file and restart
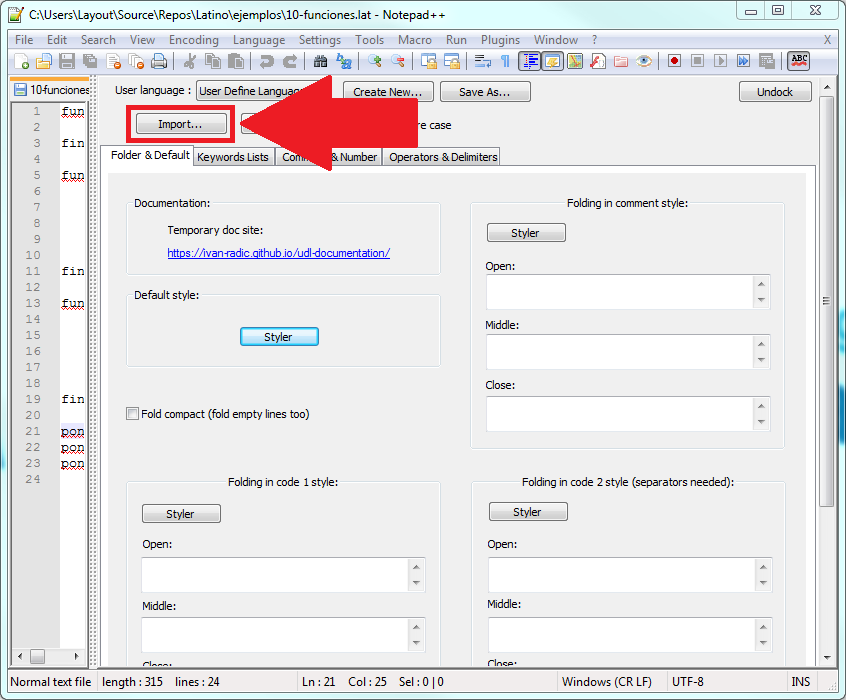
Press Import, select ansys-apdl-notepad++.udl.xml from Downloads and accept the success message. Close every Notepad++ window and open the application again so the new language is loaded cleanly.
Step 12 — Open a .mac file and verify the highlighting
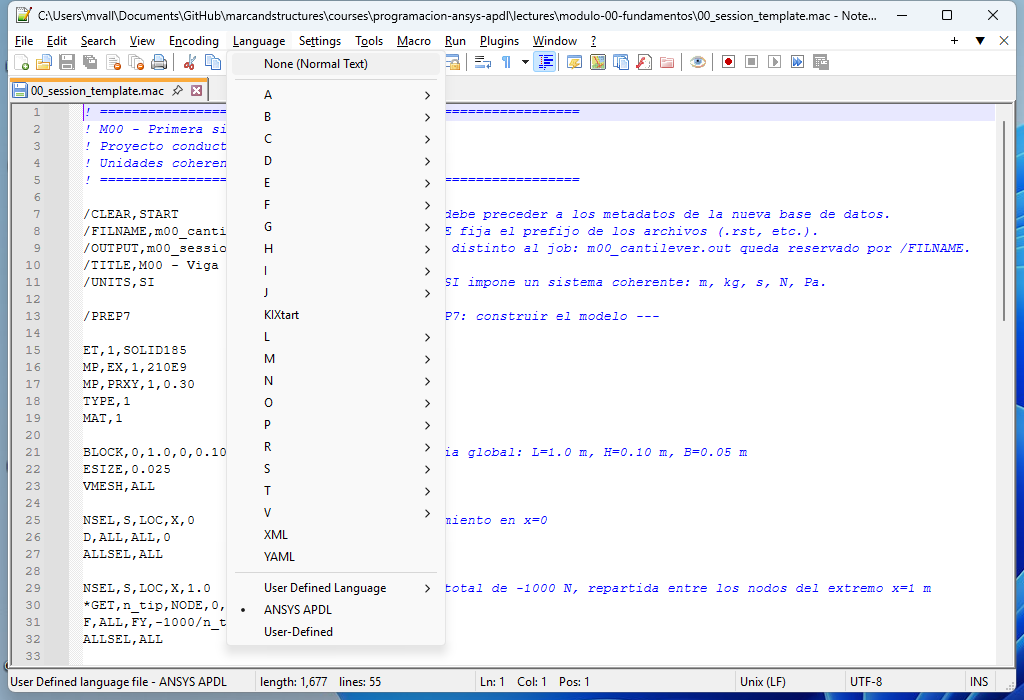
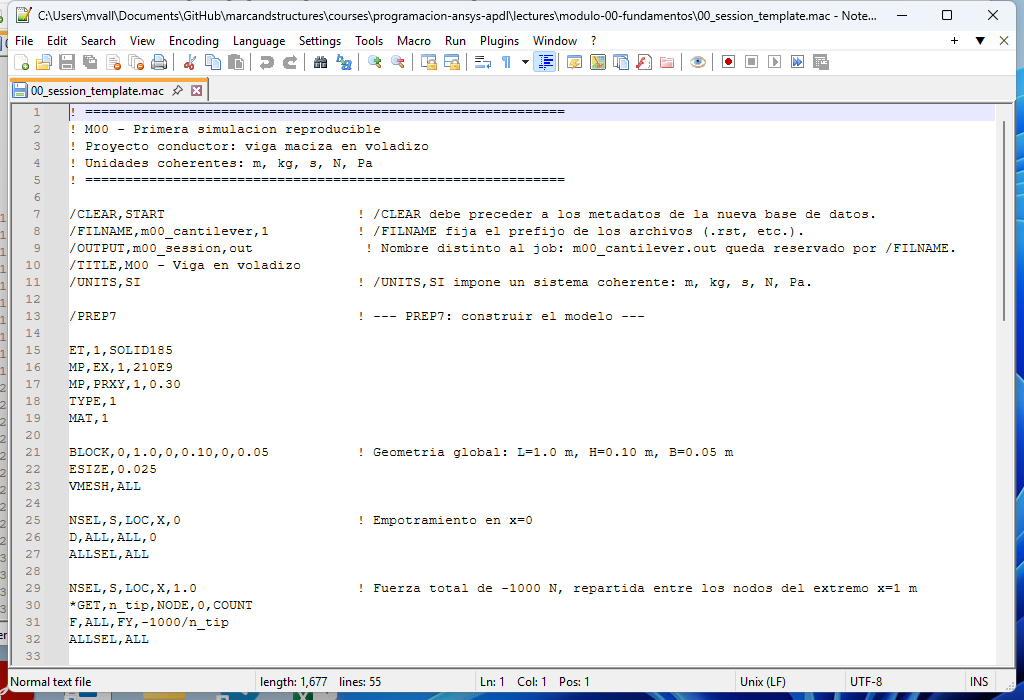
Download and open the M00 test script. Notepad++ should associate the .mac extension with ANSYS APDL automatically. If it does not, select Language → ANSYS APDL manually.
Download 00_session_template.mac
Troubleshooting
| Problem | What to do |
|---|---|
| The installer will not run | Check whether the computer is x64 or ARM64 and download the matching installer. |
| Import failed | Download the XML again without renaming or editing it. Make sure you are importing the .xml file, not a ZIP. |
| A duplicate language message appears | ANSYS APDL is already installed. Close the dialog, restart Notepad++ and verify it from the Language menu. |
| ANSYS APDL is missing from the menu | Close every Notepad++ window, open it again and repeat the import only if it is still missing. |
| The .mac file has no colours | Choose Language → ANSYS APDL manually and confirm that the file really ends in .mac rather than .mac.txt. |
Installer screenshots adapted from Academic Software Helpcenter ; UDL import reference from Manual Latino .
Reference: official Notepad++ user interface manual .